This hop is a sister hop and you will want to visit all team members and leave comments for a chance to win a prize. Also leave a comment at the end of the hop on QKR Stampede and Eureka Stamps for a chance to win the grand prize.
One winner will be chosen from each store blog for a Grand Prize of 6 digital images of their choice
If you'd like to shop, click here, but make sure you hop through first
Each logo at the top of this post will take you to the respective blogs so you can be sure to hit them all.
Now on to my project, I created a desk top note center.
The little note center itself is from the SIL store, there are 4 sections on the sides and 3 center drawers. To fit my cards I cut the center out of the 2 right side boxes to make one big box.
I made 2 duct tape roses on the end of pencils to add as well as 2 recycled tissue box bookmarks. I rarely read and when I do find a book I have to read, I can never find a book mark, so I thought why not add a few here, maybe the recipient is the same way, lol
I again used my SIL program and created a 3 by 5 card then opened each digital stamp into the program and sized it into the area for the card.
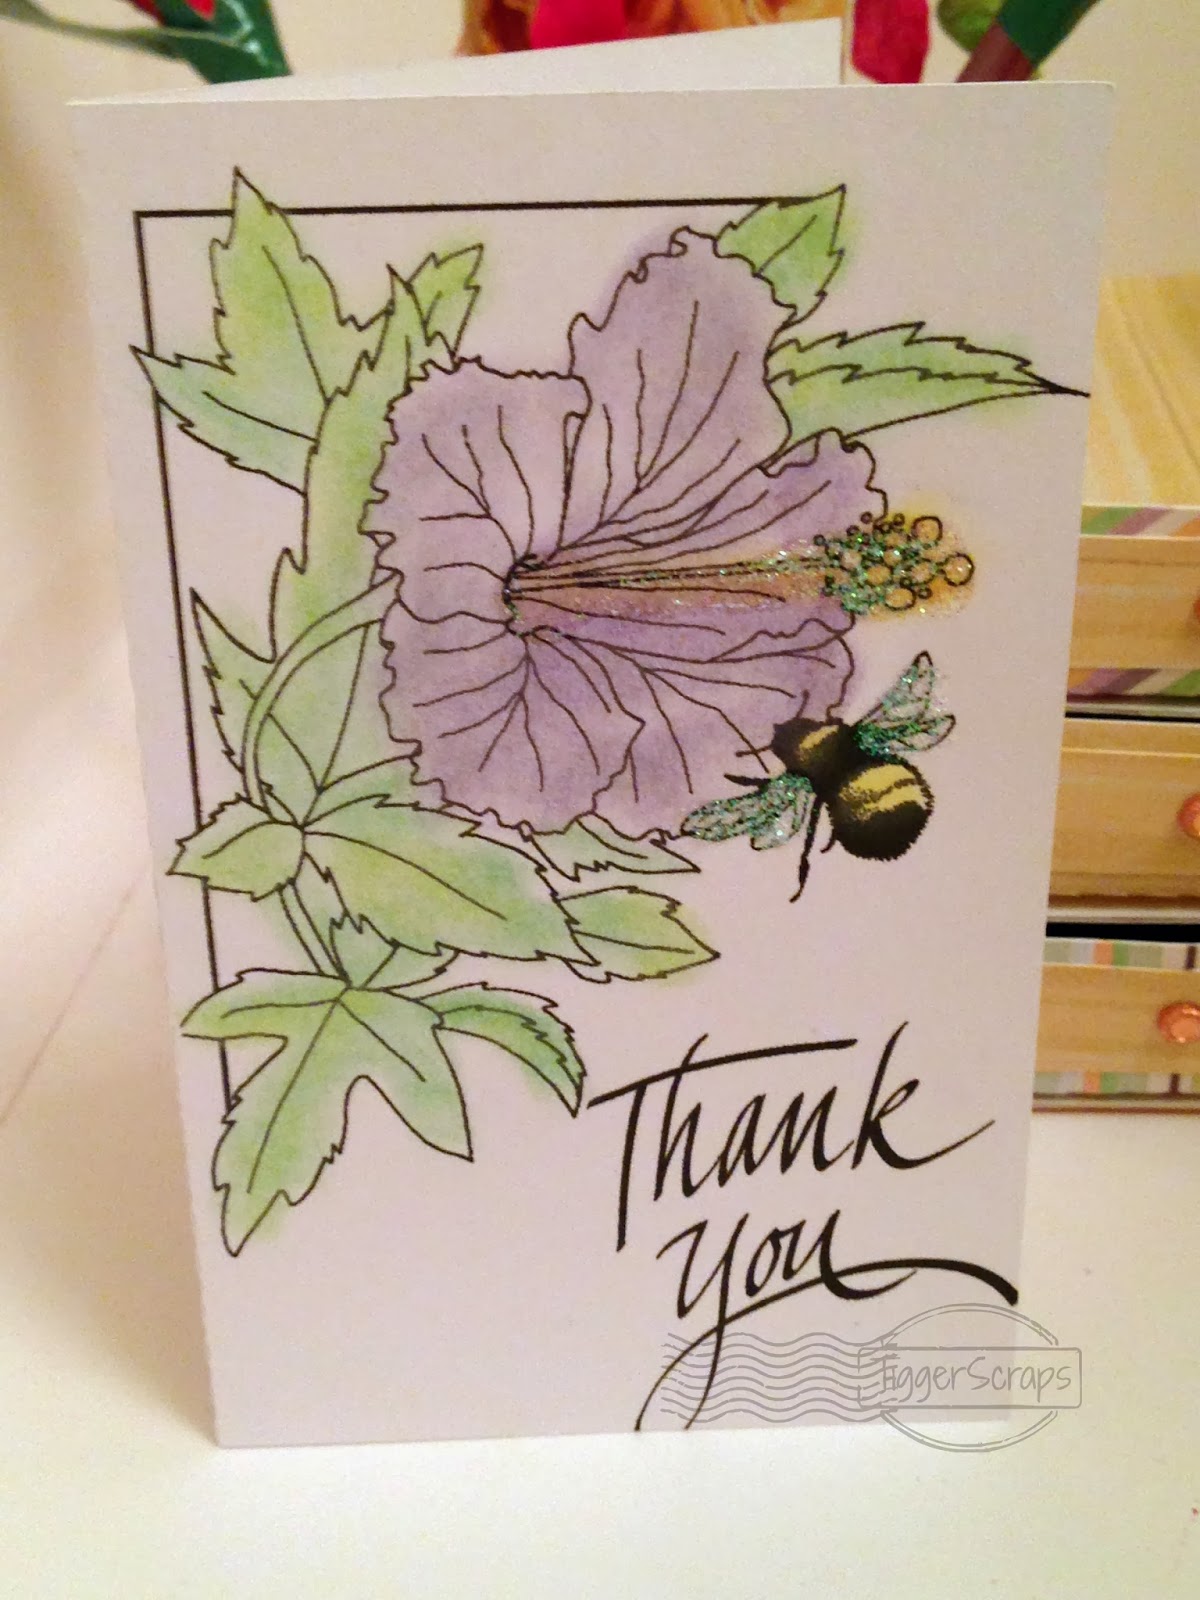
For these 2 cards I used my chalks, it's been forever since I've used my chalks, I forgot how pretty images turn out. I added glitter glue to the flower center and the bee's wings.There are 3 images used here, the bee with flower and the Thank you are merged to create the card front, and the sea shells is all one image, gorgeous right?
I could not get the shimmer to show on this one for some reason. After I chalked it I sprayed the whole card with pearl shimmer mist. It has a really subtle shine to it. Love this image!
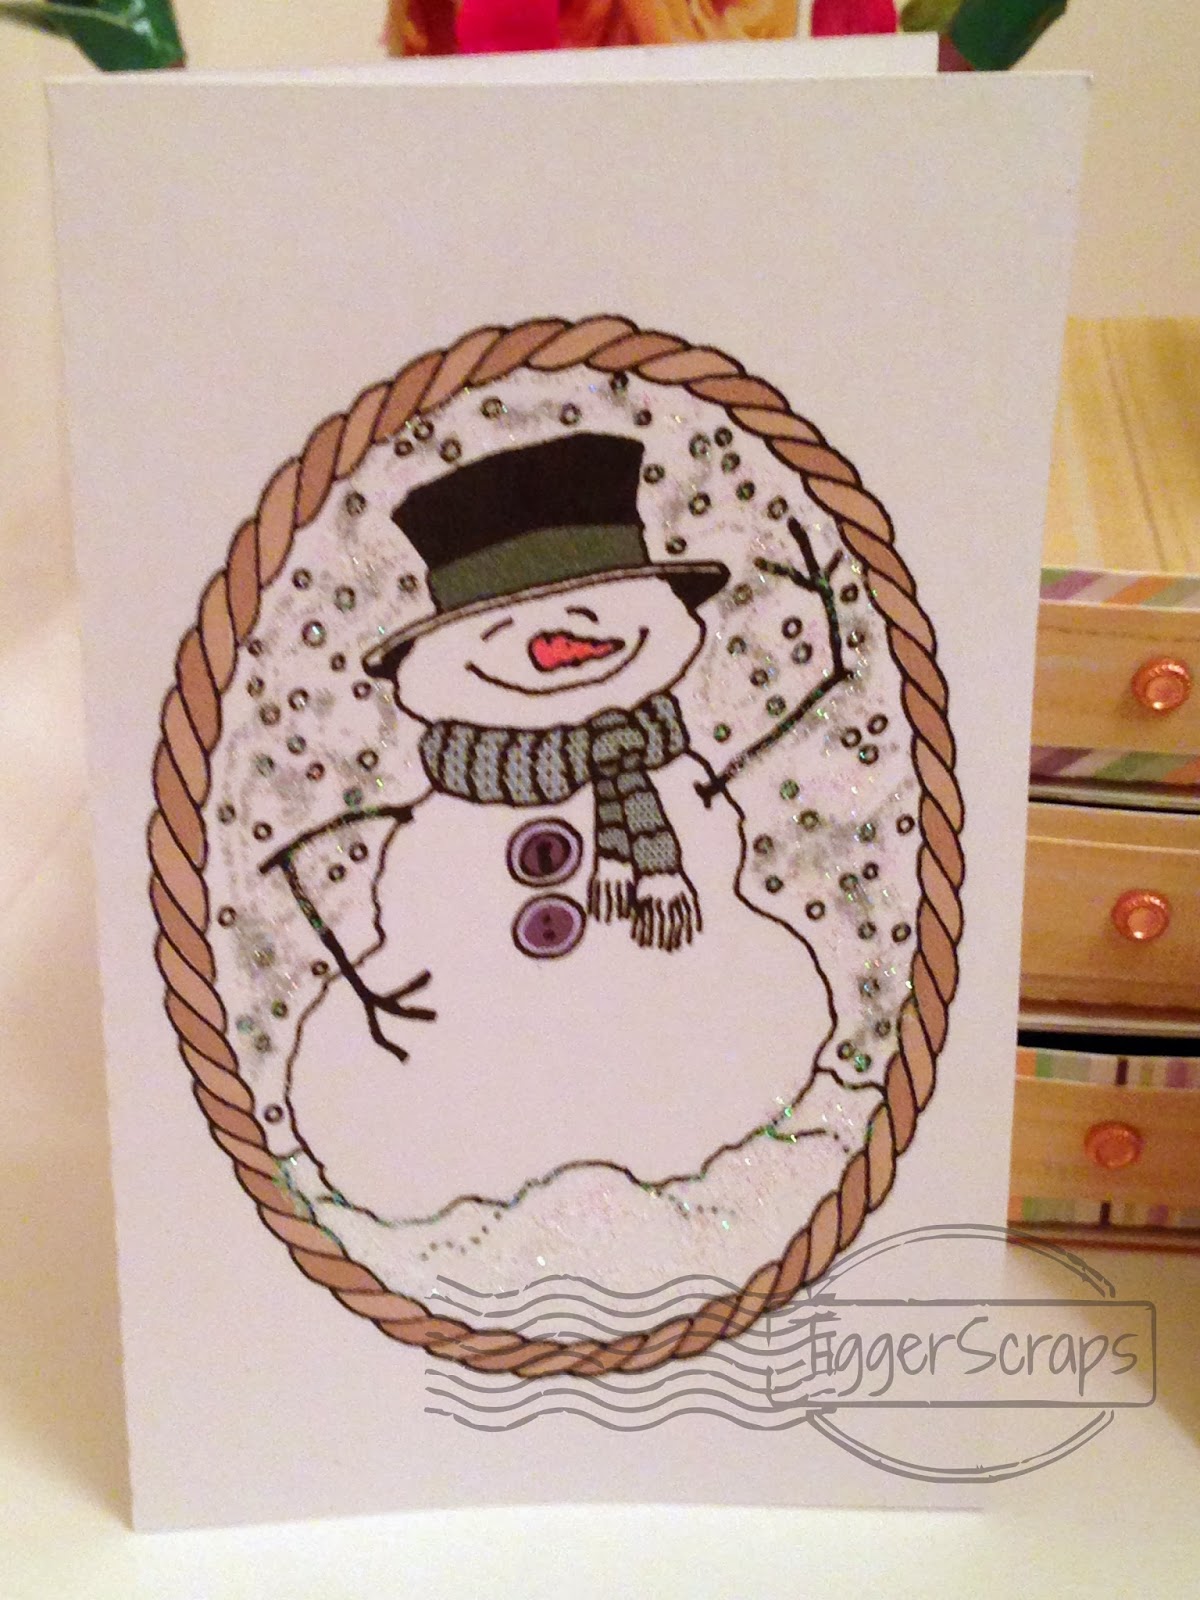
Super cute and simple again. There are 3 images used here as well. The snowman is one image, then for the "a Christmas Thank you" card, I placed the snowflake background first then added the phrase to the top. I then placed a thick rectangle around the phrase and made it green. I also colored the snow man in the SIL program. I really love using that function of print and cut, so neat.
Isn't he sweet? He just seems so great! I just want to hug him! I added clear glitter glue and silver hologram glitter glue for extra shimmer.
I am really pleased with this card, cute right? I used silver hologram glitter on the swirl lines and light blue on the snowflakes.
This one is really pretty! I love the shimmer. This is the silver hologram again on the letters, then green glitter glue on the border.
Close ups of the glitter, you can never have too much glitter if you ask me!
For the next part I made a bunch of gift tags to add to the drawers. Again, in my SIL program I created a rounded corner rectangle the size I wanted for the tags and added an oval to the top left corner. I then opened each image and sized it to fit on the rectangle. The "to: From:" are from the SIL program, I just picked a font and added the letters.
I kept them simple, knowing they will be thrown out. I made 6 of each design and colored each one a little differently.
This tassel is so pretty. I added the silver hologram glitter to the center bead. I like that I placed the loop over the hole so it looks like it's hanging as well.
This image is really pretty, all I did to this was add glitter glue then edge with a marker.
This one I just edged with a marker as well.
This bow is so adorable, it would be great on the front of a full sized card (next on my list of to do's) so very pretty.
Each picture will take you to that image in the store if you want to purchase anything I've used. Remeber, each image is also available as a physical stamp as well. I prefer digital images now though, I love being able to make them different sizes.


 I hope you enjoyed my project. next, please head over to Vicky to see what she's made for your viewing pleasure.


8 comments:
You have some great projects here. Very creative and so beautiful.
WOW - such a beautiful project - love all the cards and the desktop organizer - I'm mega impressed!!!
A really awesome gift, that most people can certainly get a good use of. Really great.
This is terrific...love the duct tape roses! My granddaughter is really into making duct tape stuff these days.
Hugs, Renee
Absolutely fabulous projects ~ LOVE them all!!!
WOW such a beautiful project!!!
Hugs
Love your project and all the different parts of it. What an adorable little "chest" to keep these goodies in! TFS!
Hi Marji!
Hopped to your blog from Eureka stamps blog :). You've made such pretty cards. Absolutely lovely. I like that "Thank you" card so much :) Its great to know you and your sweet blog through this hop:)
Post a Comment