Showing posts with label birthday. Show all posts

Saturday, February 27, 2021

Imagine that


This is my submission for the birthday celebration challenge, it was to add bling.
I printed my card on pearl paper then added some cool glitter to the mouse's hat band and the clovers.


This is my submission for the progressive challenge.  Isn't she adorable?  I just love her!


Friday, February 12, 2021

Sunday, May 31, 2020

Friday, May 31, 2019

Happy birthday to my sister!!

This is the first time I've ever made this type of card and I love it!!
My sister actually made a similar card for our mom for her birthday and I had been looking at them before wanting to try one.
Then Lori Whitlock put the files out and I jumped on this one!
I cut extra butterflies to decorate the inside of the sides as well!


I used my gel pens in my Cameo to write the words for me, I just love that feature of this machine.


Thursday, July 5, 2018

Pretty Unicorn Princess


Hello there!!
Today I am using the 

JS Pretty Unicorn Princess


I really love this one!  I've mentioned before that I'm working way ahead of time for my daughter's 9th birthday in September.  This will be her official card.
I put the unicorn's head on an action wobble for extra fun!


I added some tiny sequins for sparkle.


Saturday, June 2, 2018

9 today

I found the perfect card for Emily's birthday.
I plan to have 9 cards for her this year.
It's a special birthday since it's her last year in the single digits and her birth date is 09-09-09
This year it will be 09-09-18 which if you add the last digits it's 09 again.
So I thought to give her a card each day starting on the first and this will be the official card on her actual birthday.
I'm working way in advance, making stuff as I come across it and stashing it in my closet so I won't be scrambling last minute.


Thursday, April 26, 2018

Magical birthday!


Hello, today I'm sharing a print and cut card I made using patterns in my sil program.
I love the textures in this one, such a fun card I think!
You can find the Magical Unicake here


Saturday, March 3, 2018

Kadoodle Bug Designs


Hello, today I have some projects to share that I'm behind in putting up on my blog.
They've been on the Kadoodle Bug facebook page already.

You can find the files for Sweet and Corny and Turtley Awesome Birthday by clicking each link.


This layout will be perfect for Emily, I immediately thought of her when I saw this file.


This is the card I made for my mom's birthday on the 24th.
This little cutie is just precious!
I used some of my Spellbinders dies and some gems to brighten it up along with my white gel pen.


Wednesday, March 22, 2017

Dinosaur party

Shop Our Digis!
Kris invited me to be a guest designer this month.
I really love working with her images. I love that she includes colored images with the outline images.  Some days my coloring does not turn out well and some days I just don't want to color.
For today's post, I used the pre-colored images because they match the digital papers perfectly!

I used the Dinosaur party stamp set for today's post.

I made a scrapbook page first.  I just love these dinosaurs, they are so cute.
I created the 7 and used the digital papers to color it in like I did the mats for my photos.


I then created a few cards using the digital papers with the colored images.
I really like how they look.  I kept them simple since kids don't tend to pay much attention to the bling on cards.


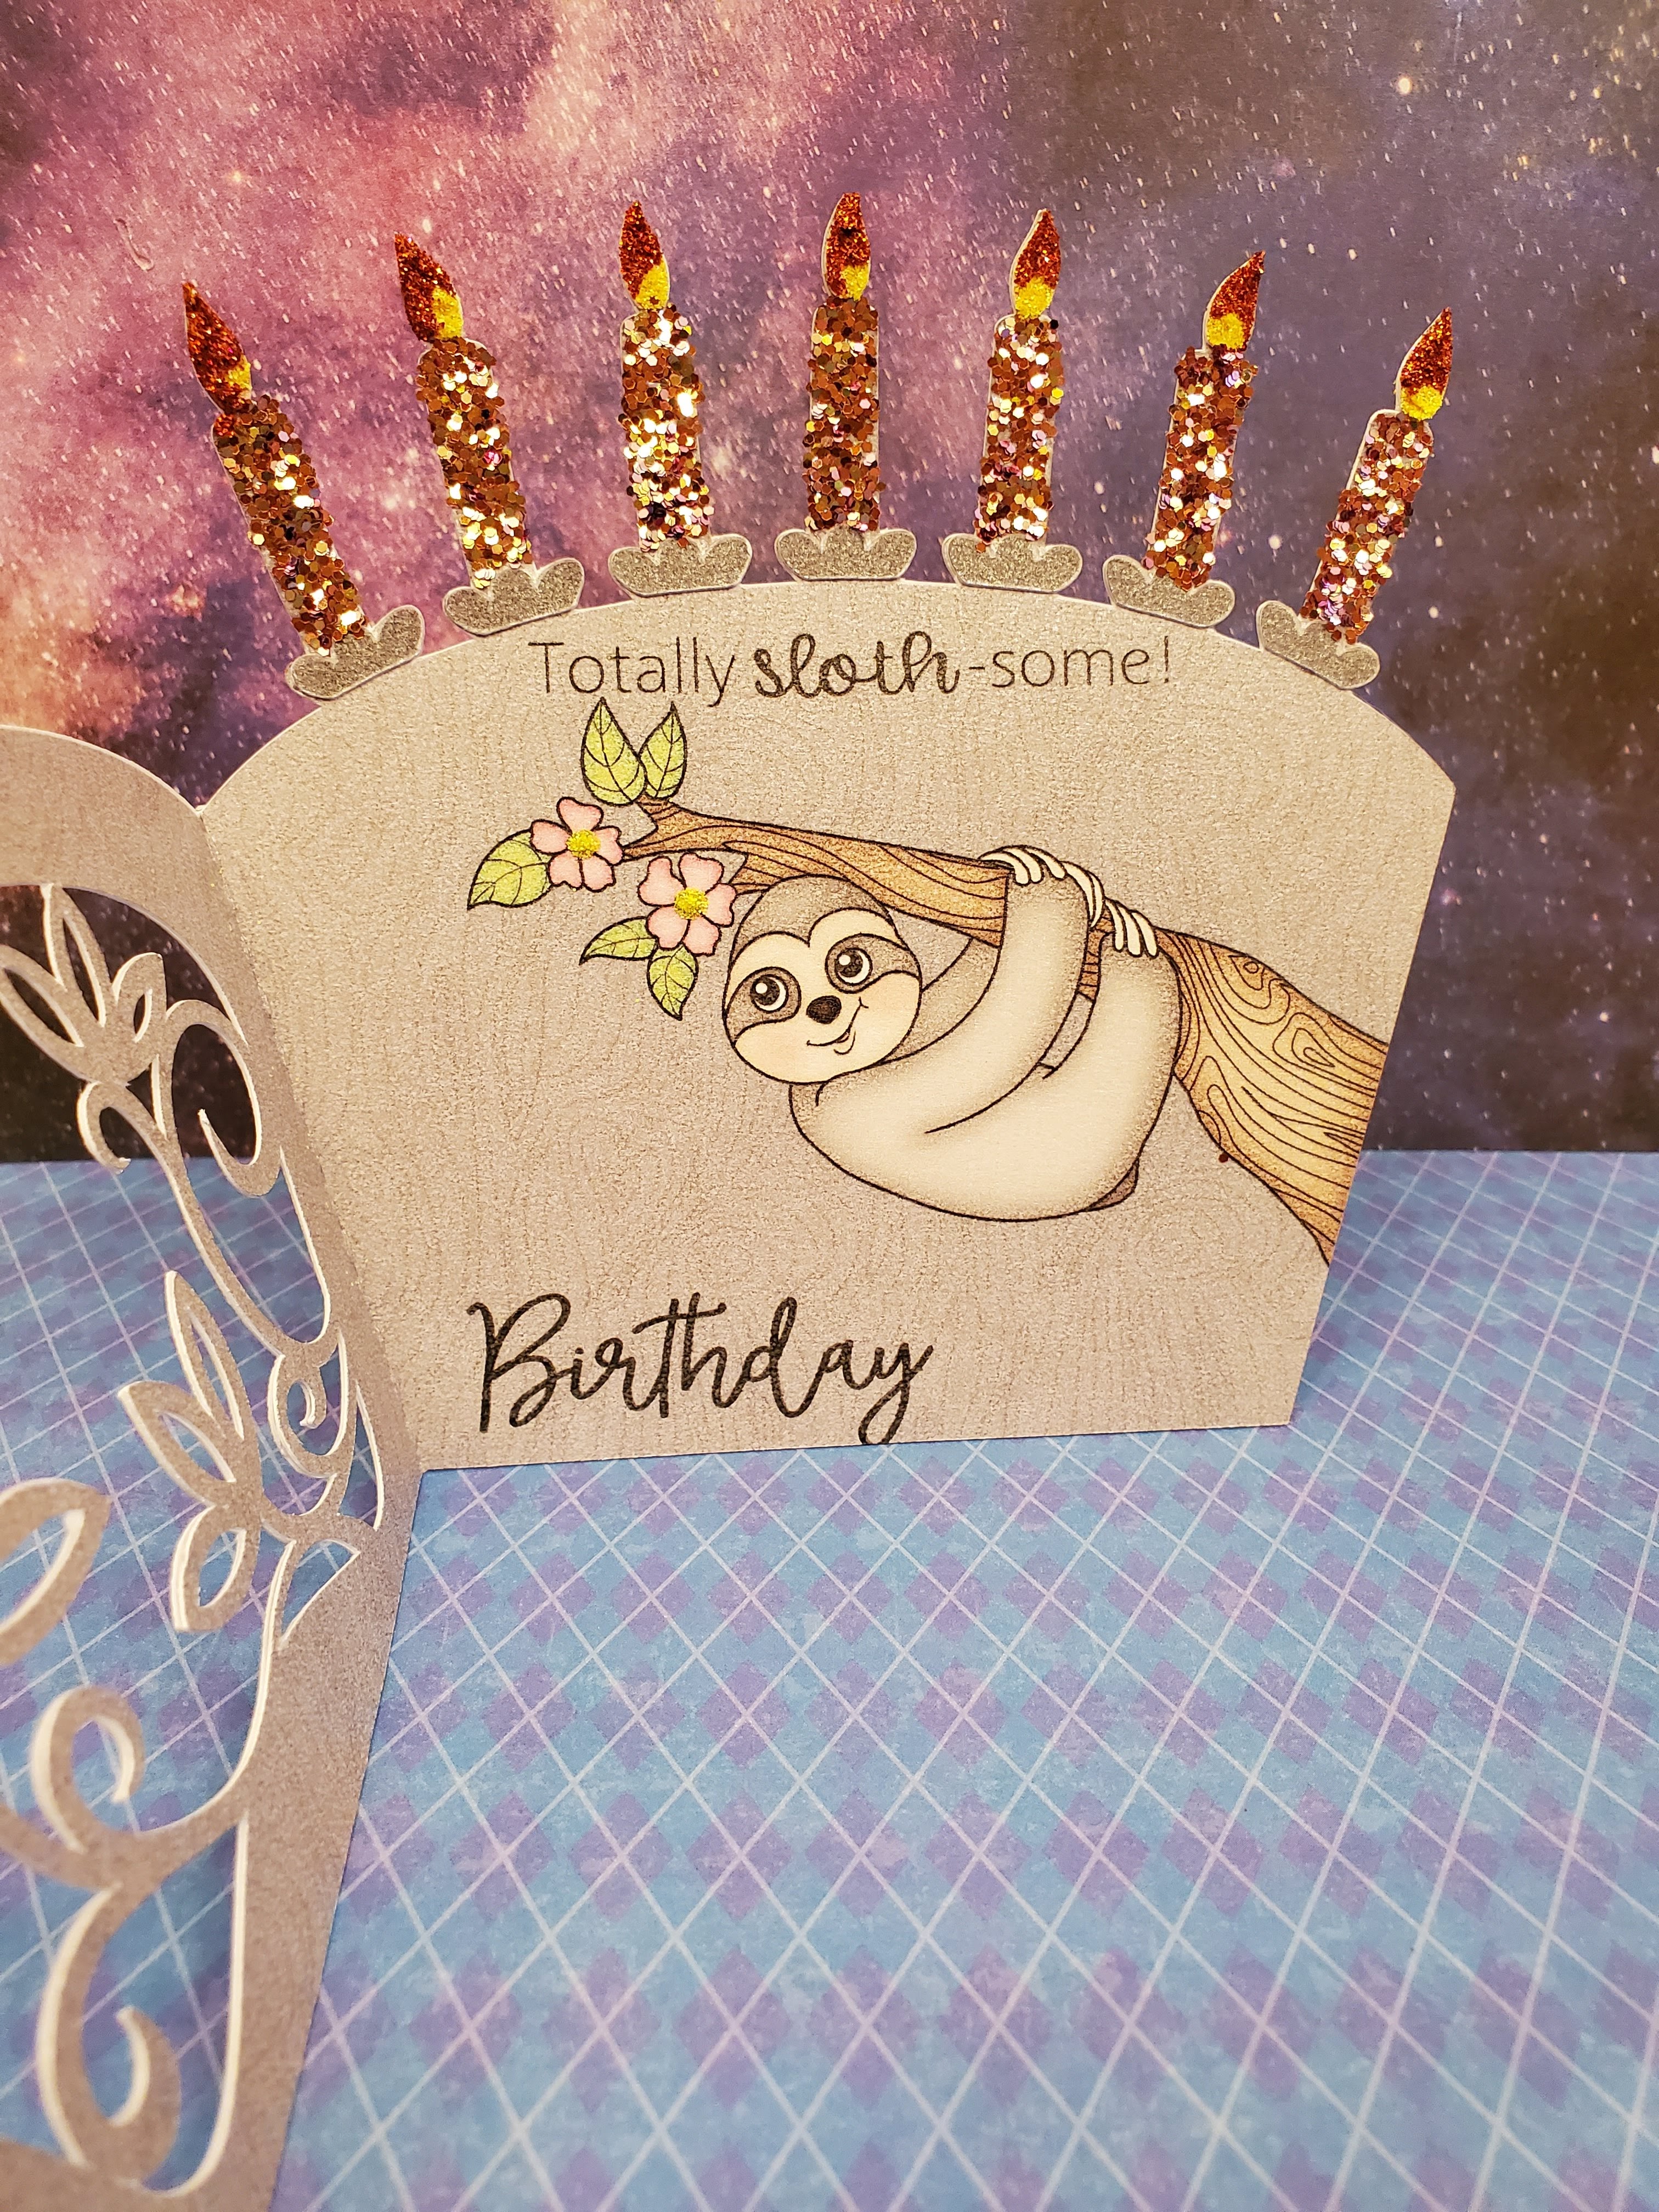
This one I made into an easel card, using a bow as the prop to hold it up.


Isn't she adorable?!

This guy really makes me smile.
I used the happy birthday with the candles to match the cake on his back.

I even used dinosaur themed paper for the card bases.  I bought this paper stack ages ago, it really tickles me when I can use it to match a project perfectly!

Tuesday, April 5, 2016

Birthday sloth

This is a file from Kadoodle Bug designs, I fell in love immediately!! I have a crush on sloths, they are just so cute!


For this card I turned off all the cut lines and layered all the pieces on my cutting mat creating the card front as one piece.