Showing posts with label Tim Holtz. Show all posts

Saturday, October 31, 2015

Happy Hauntings haunted house

Happy Halloween!!!


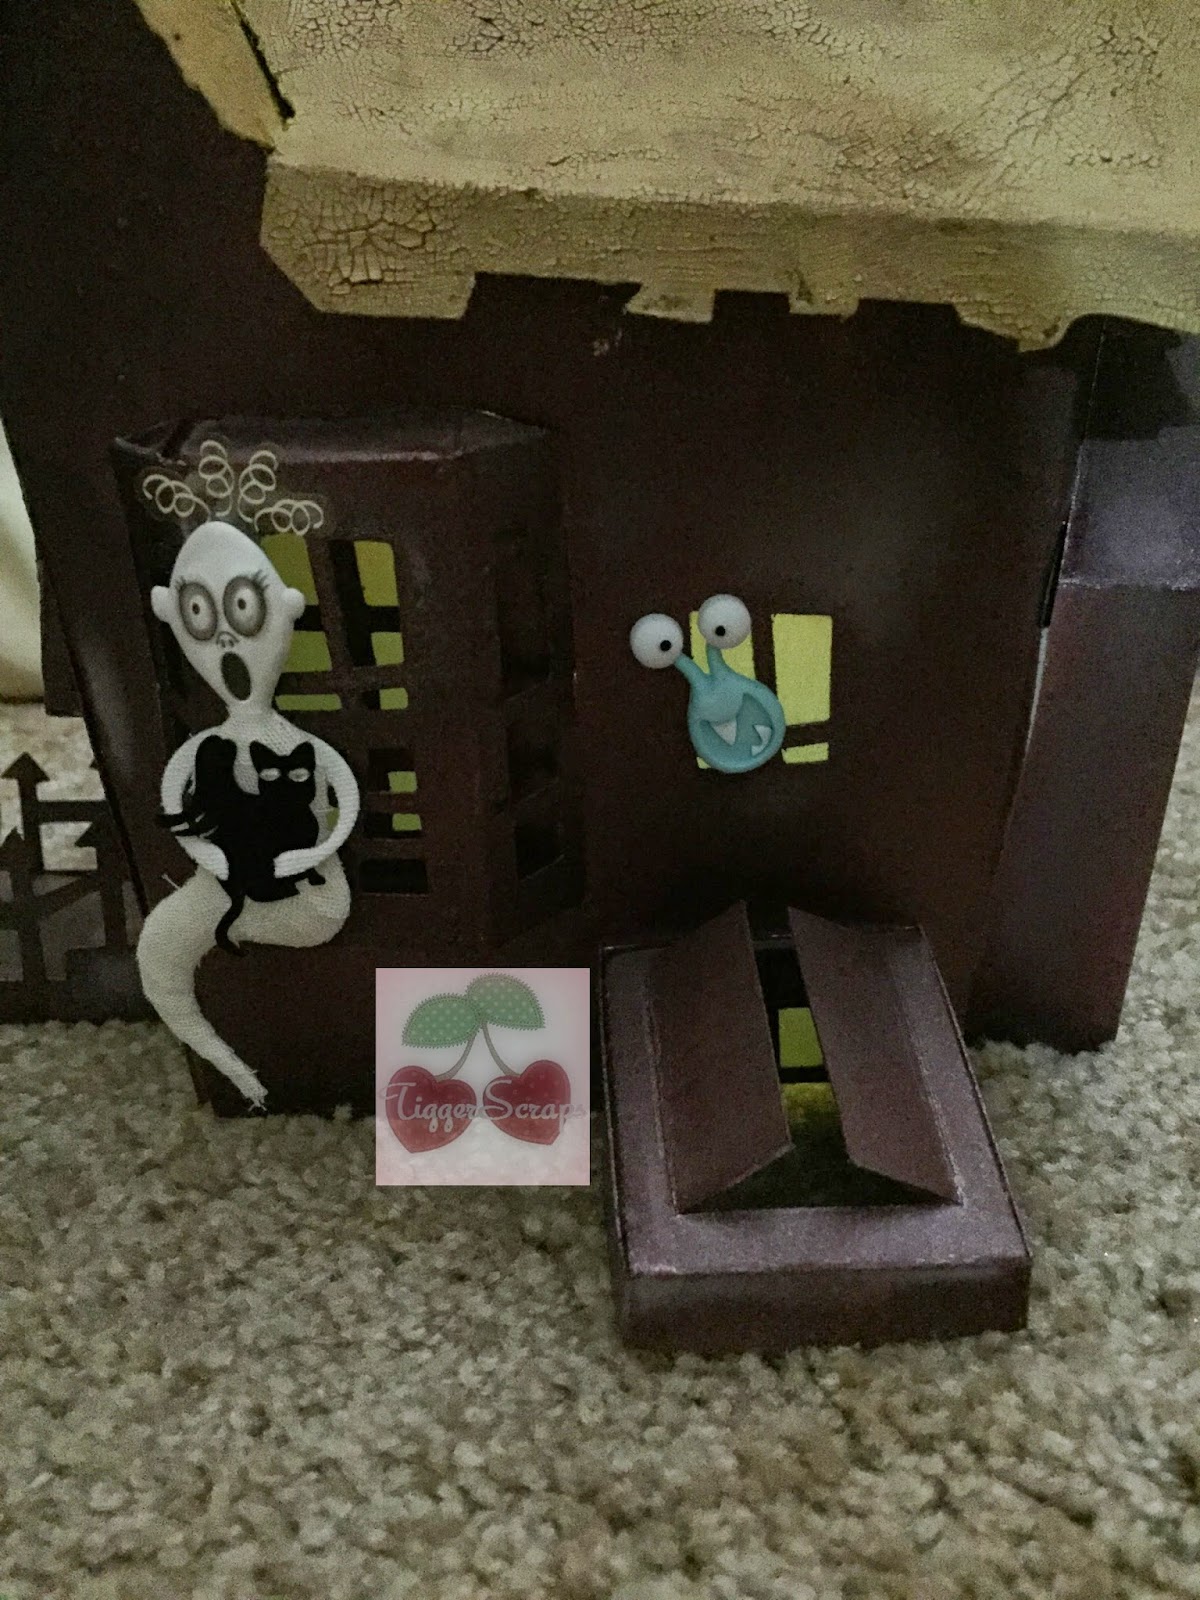
This is one of the biggest pieces I've done and I love it!  It's from Cricut, the Happy Hauntings cartridge.


The kitties are from Kadoodle bug designs.


And for a matching kitty....
 How cute is this cat?  I just love him and love how this box turned out.
It's perfect for some bite size candies or a small trinket type gift.

 I love how the closure looks! So clever.  This is made by a new to me company called Awesome SVGs.  I recently hopped along and got these files for free.  I was hoping to get them all made before Halloween but...

And one last kitty, I love him! Super cute!


Tuesday, July 23, 2013

Peacock collage


I'm happy to share this with you today, for two reasons, I LOVE how this turned out AND it's my Birthday!!
My best friend shared this project with me and helped me make it. 
She is a Stampin Up demonstrator and ordered me 7 or 8 packs of paper on clearance so I had lots to choose from.

I love this project for several reasons, for us paper hoarders out there, this is a great way to hang on to that paper we just love!! AND a great way to hang on to embellishments we love too!  This way you use your stuff and get to keep it too on a beautiful display!
 So, moving on, you can see I used my favorite Pinque Peacock flowers, I love that little rose bud fabric and have been holding on to them not wanting to let them go.  As well as this TH bird cage, when I took the class from him we used  one on one of the necklaces we made and I bought one after the class because it's so cool.
 The centerpiece of my project is this dress form, I cut 2 pieces from chip board then from 2 different papers I used on the project.  This way it's thick and has a different paper for the base.  I cut the base off of the main dress area and layered it onto the full base piece. Hope that makes sense.
I used foam tape to pop it up and added some beautiful TH wings behind it.  Then put the adorable fringed fabric poppers in more of that adorable fabric!
 More TH goodies and another beautiful Layered Garden beauty.  I glued all the embellishments on with E6000, you can see it in the first photo.  Aren't those papers beautiful?!

 And finally you get to see the whole piece!
 A few more close ups, the LOVE and pen knib is more TH and the blue button is a fabric covered button from Pinque Peacock.
 This I found in the jewelry section at Joann's, I was going to take the ring off but my husband said it looked cool to leave it.  He rarely injects comments on my projects so I went with is suggestion.
Thanks so much for stopping by to visit me on my birthday!  I love you all so much!!
If you want to visit the Pinque Peacock blog click my photo at the top and if you want shop click the PP logo to head to the shop!

If you want to know how I did this, then read on
Supplies, several sheets of good quality paper, MDF board, embellishments, gesso, decoupage medium, E6000 glue and mat spray

1: cut your MDF to the size you want
2: coat with gesso and allow to dry
3.cut your paper into various pieces, I used 1 by 2, 2 by 2 and 3 by 2 mostly
4:apply thick coat of decoupage medium in small areas and lay paper in it, coat more on top then starting in the middle go in small circles working out to the edges to remove air bubbles, then brush over top to smooth finger prints.
5: repeat step 4 until all the board is covered, I overlapped my pieces just slightly to avoid gaps
6: once it's completely dry spray the entire board with mat sealer to help seal the decoupage medium
7:once the sealer dries embellish as desired!

If you have any questions feel free to ask


Saturday, October 6, 2012

Class with Tim Holtz

Tim Holtz

paper

I had the honor of taking a class from Tim Holtz at a local scrapbook Store.
It was such a blast! Tim is super nice and so funny. It's just not fair for one person to have so much creativity but man am I glad he does!
He created this class just for the store and we got to use a ton of  his amazing trinkets.
I have always been drawn to them but had no clue what to do so now I'm hooked and want to buy them all!
This is a bracelet, I used the typewriter charms to spell my name, an E for Emily, an S for Steve, an F for our last name and the word love.  I left 2 charms blank so I can put a picture of Steve on one and Emily on the other.  There is also a penny from 1999 on there for our anniversary year and Emily's birthday which is 9/9/09, how cool is it that the numbers are so similar :)
Tim has to alter the store's logo to fit our weekend classess
This is a necklace using one of his clock faces.  This is a real clock face so I don't have to worry about it falling apart.  Everything is so well made and thought through, it's just amazing.  
Man my hand looks old in this picture, jeeze.  This ring is just a filigree piece rounded to fit my finger and some of his floral pieces.  The brad in the center is one of his build a brad pieces with a sticker of a clock face in the center and an epoxy dome over top.  When I got home I used E6000 glue to secure everything because I almost lost all my pieces on the way to lunch, the brad came loose.
Here he is, all adorable chatting with some ladies
This is my favorite piece.  I LOVE the birdcage, shoot, I love it all.  The little dolls freak me out since they have no arms but it works on this necklace.  The wing and key I used some paint on to add some extra color and there is a dime on there as well just because I wanted to play with his drill.  You can drill through just about any metal!! It's true! And super easy!
Here we are after he signed my book for me.
And he liked how I spell my name, ;)
During class, he is just so adorable.

So thank you so much She Scrapbooks and Tim and Mario for making it a wonderful experience.  I wish I could have taken all 4 classes, maybe next year...
Let me know what you think of my first attempt at making jewelry. Tim made it so easy.